Blog

  • Beaver Builder Draft

    This guide shows how quickly you can create beautiful and professional popups using Popup Maker and Beaver Builder. Check out this quick demo.

    TO DO: Quick recap of the demo.

    TO DO: State the goal of the steps below.

    Follow these simple instructions, and you too can enrich visitor experience and drive conversions on your site with engaging popups.

    Let’s dive in!

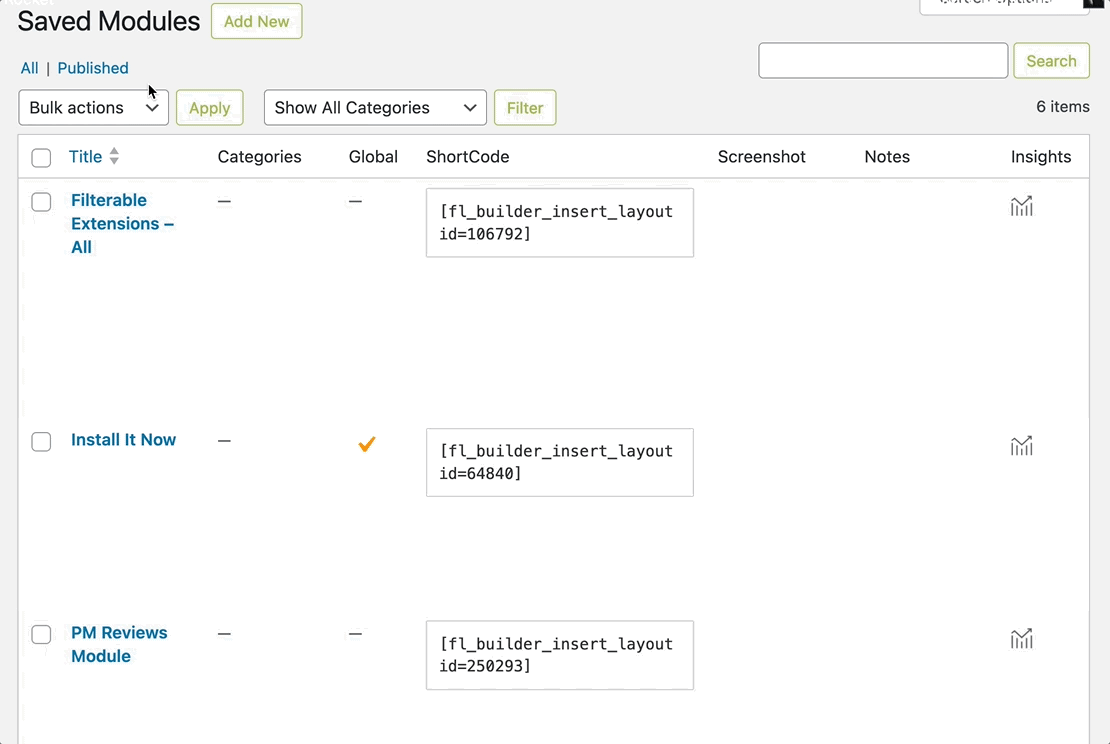
    1. Choose a saved Beaver Builder layout

    Start by creating a new layout or choosing a pre-made template.

    2. Copy the layout’s shortcode

    Copy the shortcode for your saved Beaver Builder layout.

    3. Edit a Popup Maker popup

    Create a new popup or edit an existing one.

    4. Paste the Beaver Builder shortcode

    Paste the shortcode into the popup editor to add your Beaver Builder layout to your popup.

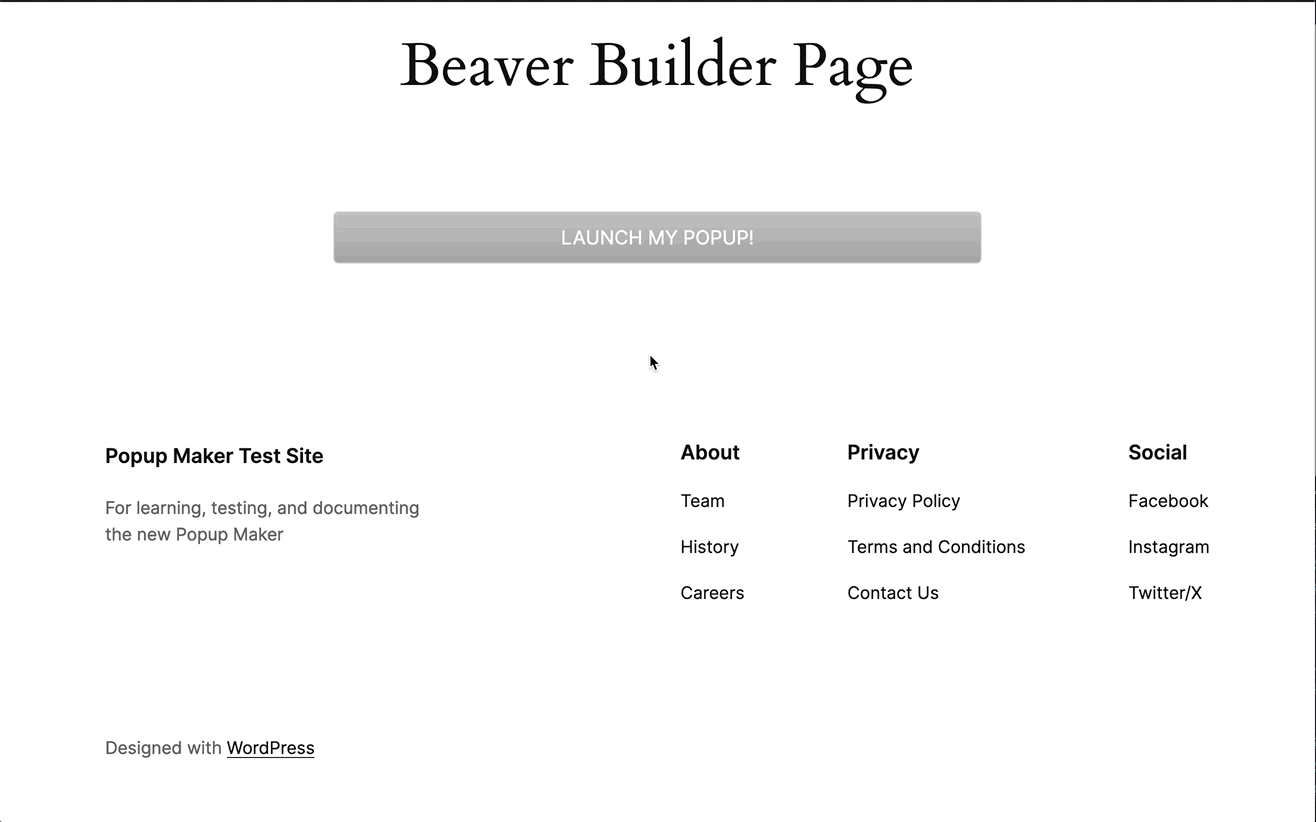
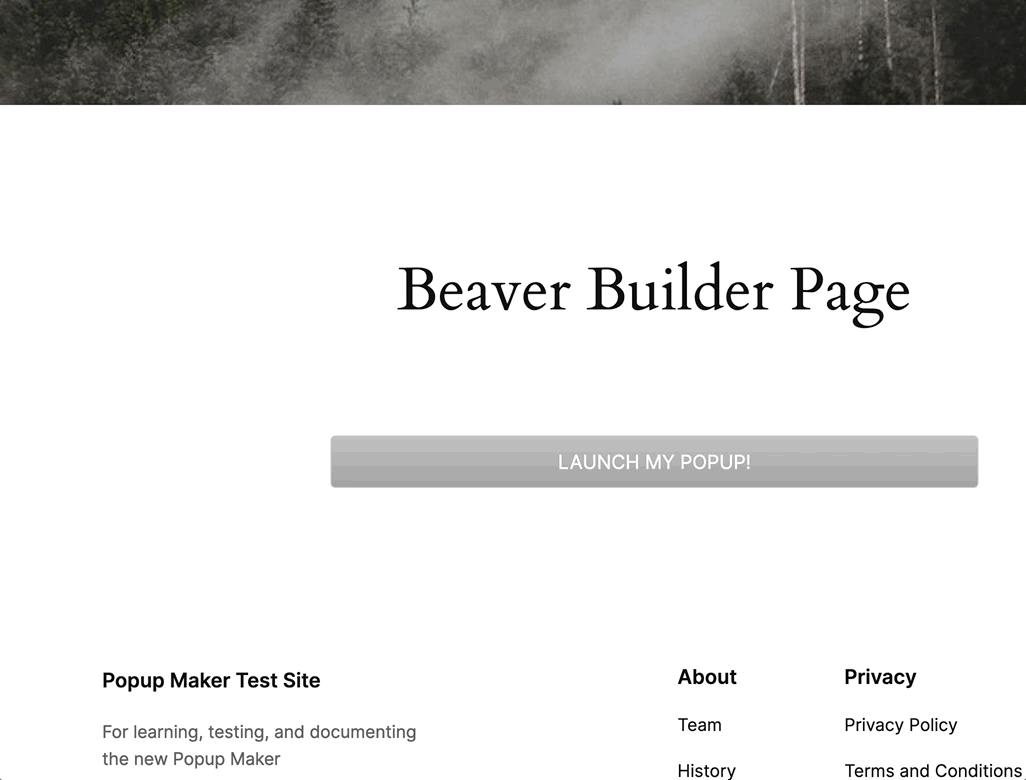
    5. Set up a popup trigger

    Set up a popup trigger to make the popup appear on your website.

    Be sure to add an Extra CSS Selector, e.g., .go-bb-popup. We’ll add that to your Beaver Builder button in a sec.

    Optionally, add a cookie to control how often a visitor sees the same popup.

    If needed, add a targeting rule to specify where the popup should appear (e.g., a specific post or page).

    6. Save your popup edits

    Save or publish your changes to make the popup live on your website.

    7. Connect your Beaver Builder button to the popup

    Remember that Extra CSS Selector that you added back in step 5?

    TO DO

    8. Save your Beaver Builder edits

    TO DO

    That’s it! Just follow these steps to create and set up your popups.

  • FAQs

    Just the FAQs ma’am

    I’ve installed and activated Content Control. Where do I find it?

    For the Content Control global restrictions and plugin settings, go to your WordPress admin (/wp-admin/) area. Hover over Settings in the side menu. Click Content Control.


    For Block Controls, click on any block in the WordPress editor. You’ll see the Content Controls block settings on the sidebar.


    If you’re new to Content Control, visit our Getting Started docs to learn how to create your first content restrictions.

    What is a Global Restriction?

    Global restrictions protect content at the post and page level. Use global restrictions for things like allowing only logged-in subscribers to view blog posts. So, in that example, the Global Restriction protects all blog posts by redirecting logged-out visitors to either a login page or a page of your choice (you can even set up a “denial” message).

    You can also choose how restricted posts appear on archive pages and places outside of the main content area (e.g., on widgets, headers, footers, and sidebars).

    Head over to A Quick Start to Your First Global Restriction to learn more.

    Question 3?

    Question 4?

  • Test Post

    Yay! This is a test post 😉

    This is protected content inside this test post.

    Button
  • Hello world!

    Welcome to WordPress. This is your first post. Edit or delete it, then start writing!

    Random H2 heading

    Here’s a cool image


    This is a container block. This container should have a max width of 600 px and a min of 280 px. And that works! 🎉

    Testing referrer ATC trigger.

    Copy link to highlight test.

    Launch RC Ajax popup